The following is a step-by-step guide on how to install Tunnelblick on Mac OS X. Tunnelblick is a free, open source user interface for OpenVPN on OS X.
OpenVPN is an open source SSL VPN which can tunnel over UDP or TCP ports. We have OpenVPN servers running on port 53, 80, 443, 1194 and 8292. RSA 4096 bit and AES 256 bit encryption supported.
Why run VPN on Mac?
- Hide your IP address and protect your privacy and security on Internet.
- Stop your ISP and public hotspots snooping on your online activities.
- Access geo-restricted and censored websites.
Installation Summary
- Drag and drop OpenVPN config files onto Tunnelblick icon on menu bar to install VPN configurations.
- Enjoy!
Installation Video
Tunnelblick Installation
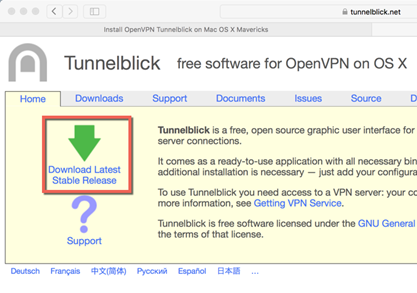
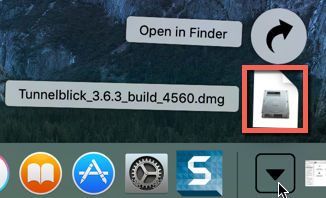
- Download Tunnelblick software to your Mac. Run the installer by double clicking on the file you just downloaded.
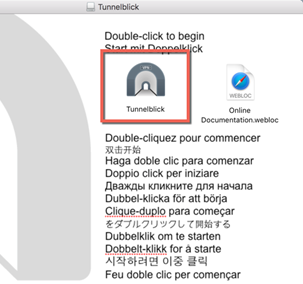

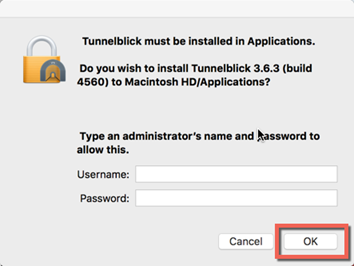
- Input your Mac’s administrator name and password to allow installation.
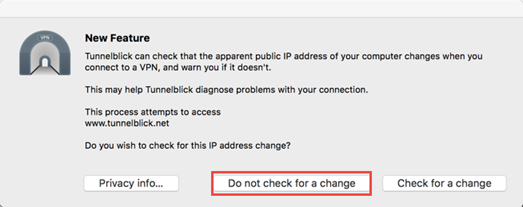
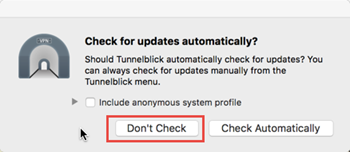
- You may choose either option on the following 2 screens. Choose Do not check for a change and Don’t check for updates automatically if you need finer control over updates.
Download OpenVPN config files
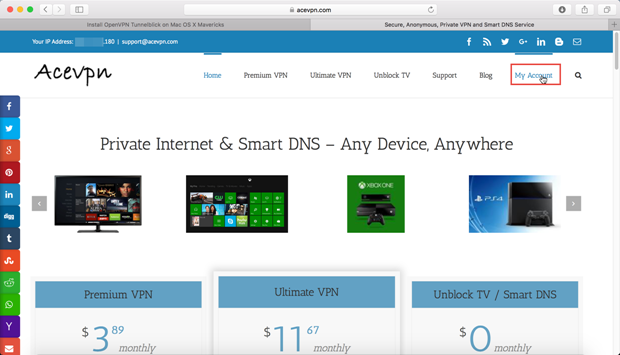
- Visit Client Area in your browser. Under Services menu choose My Services and choose View Details.
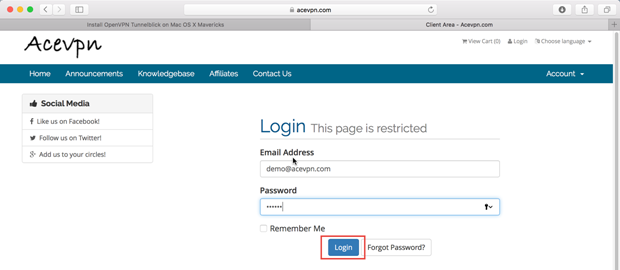

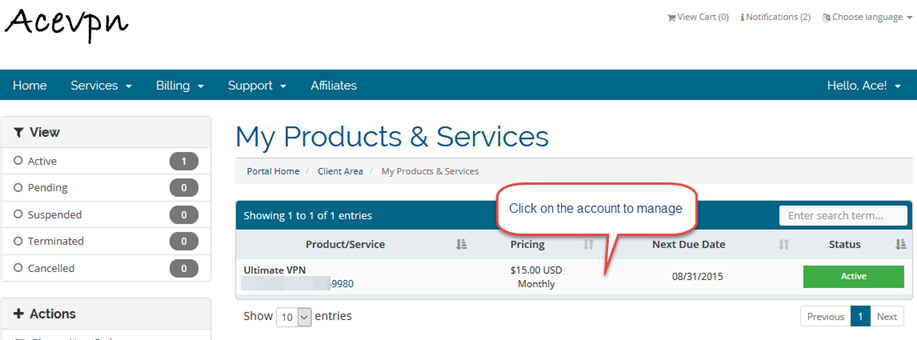
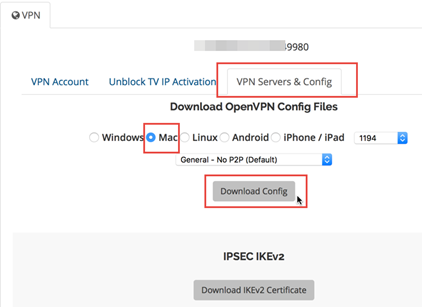
- Switch to VPN Servers and Config tab, Choose Mac, Port and hit Download Config.
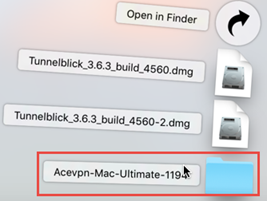
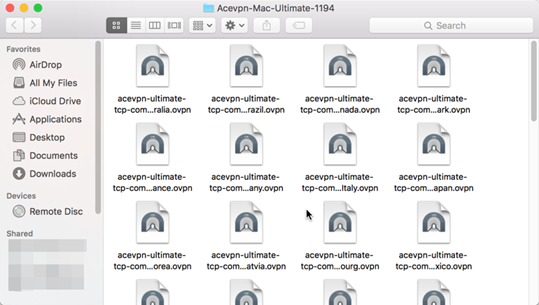
- Click on the config file you just download. Install VPN configurations by dragging and dropping them on the Tunnelblick icon in the menu bar.
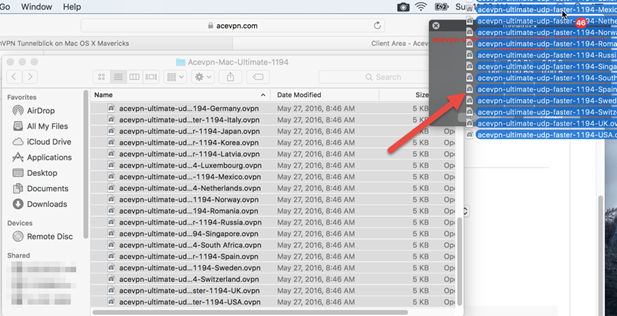
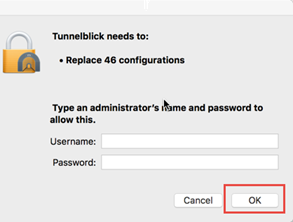
- Input your administrator name and password to install.
Connect to Acevpn
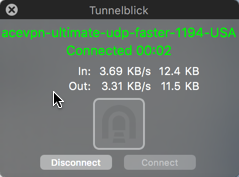
- Click on Tunnelblick icon in the menu bar, click the config you wish to connect (eg. acevpn-ultimate-udp-faster-1194-usa).

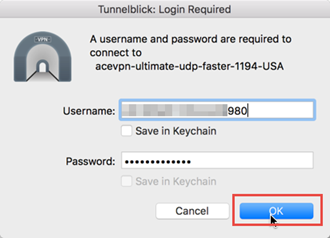
- Input your VPN username and password when prompted.
- OpenVPN will establish a secure tunnel to the VPN server. All traffic originating from your device will get encrypted and go through the secure tunnel.
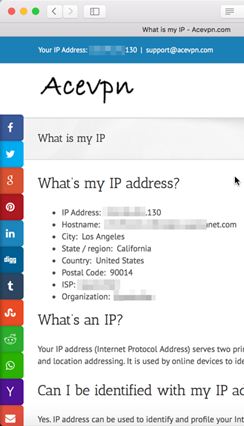
- To verify, check your IP address. If VPN is active, you would see VPN server IP address.
